Open the Prospect Details record for the individual to whom you want to send an email.
Click Send
Email.
Type a message in
the text box.
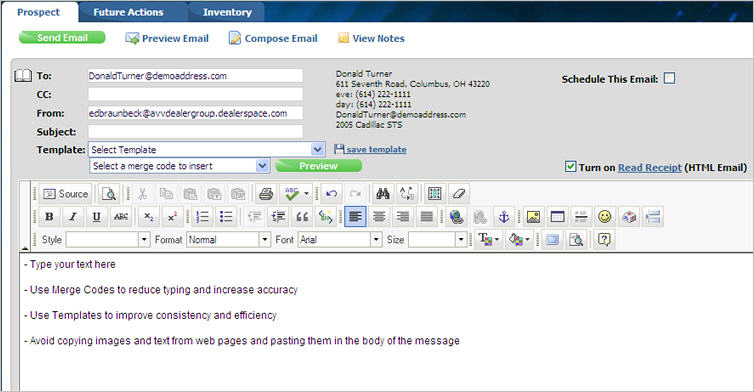
From the Send Email page, you can create, preview and send email. Additionally, you can view a Prospect's notes. After sending an email, you can change a prospect's status and delete open actions. Click the following links for more information.
Schedule an Email for Future Delivery
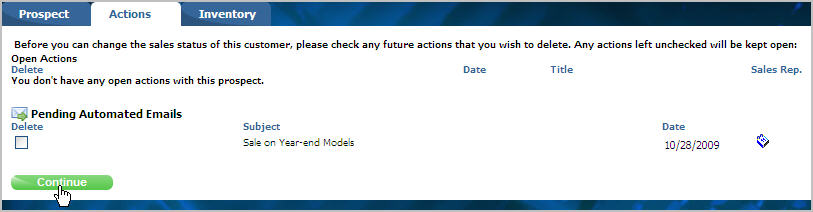
Change Status and Delete Open Actions
Open the Prospect Details record for the individual to whom you want to send an email.
Click Send
Email.
Type a message in
the text box.
Important Notes:
|
Click Send Email.
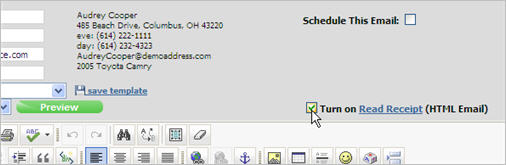
Read Receipt allows you to track whether or not the recipient of your email has read your message. Read Receipt is available for manual emails only. You cannot receive read receipts for automated or broadcast emails.
From the Send Email window, create a new email from scratch or with a template.
Select the check box Turn
on Read Receipt (HTML Email).
Important Notes:
|
When you create an email to an individual prospect, you can send it immediately as previously described or schedule it to be sent at a later time as an automated email.
From the Send Email window, create a new email from scratch or with a template.
Select the check box for Schedule This Email.
Type the date you want to send the message, or
click the Calendar icon to select
the day you want to send the message.

Click Send. When the scheduled day arrives, the message will be sent to the prospect.
|
Important Notes:
|
Open the Prospect Details record of the person whose email you want to modify or delete.
Click the Actions tab.
In the Pending Automated Emails section, locate the email message you want to change.
To modify the delivery date of the message,
click the Calendar icon, and select
a new date.

To delete the message, select the check box
next the message, and click Delete Emails.

Preview the final version of your email to verify content before sending it. This is particularly helpful if you use merge codes or a template.
Click the Preview
Email link at the top of the Send
Email window.

Scroll through the message to review the content
before sending.
Access notes on the prospect's record from the Send Email window.
Click the View
Notes link at the top of the Send Email window.

Click the arrow next to each note to see more
information.
After the email is sent, you can change the prospect's status and delete any open actions that are no longer applicable.
From the Status
list, select a new status and click Finish.

Select the actions you want to delete and click
Continue.
Revised: April 2010