Create a new or select an existing process. See Create/Edit a Sales Process for more information on how to set up a Sales Process.
To add an automated email to the Sales Process steps, complete the following steps:
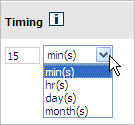
Enter the Timing by typing the duration and selecting either minute(s), hour(s), day(s) or month(s) from the list. The timing defines when the Web Control system schedules the activity.

-
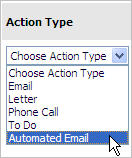
Select Automated Email for the Action Type.

Important Note:
If you are including more than one automated email in a process, be sure that each email has a different subject line and title.
-
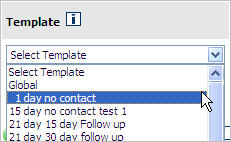
Select a Template. You can select a Global template.

Important Note:
You cannot use the same template more than one time in a Sales Process.
-
Select the Use Salesperson's Email for From Address if you want the email to be sent from the salesperson to whom process is assigned.
Important Note:
Automated emails are sent from the person assigned the dealership's Sales email address if the salesperson's From address is not selected.
Type a descriptive Title for the step.

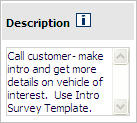
Type a Description for the step.

Click Submit to add the step.
After all steps are added, click Finish. When you finish creating a Sales Process, you can assign it. Refer to the documentation on Assigning Sales Processes for more information