Click the Tools tab.
From the Sales Processes section, click Create/Edit Sales Process.
Click Create
New.
This feature is available to Manager users only.
Use Sales Processes to automatically assign and schedule sales steps. Each process can contain up to 25 sales steps. When a process is assigned and triggered, the Web Control system automatically schedules the steps, which appear as activities in the Organizer.
Use the following links for information on how to:
Click the Tools tab.
From the Sales Processes section, click Create/Edit Sales Process.
Click Create
New.

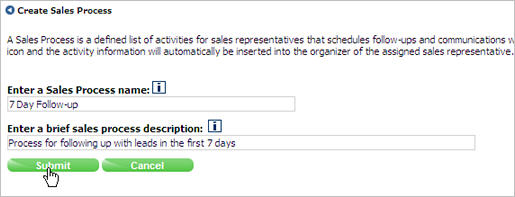
In the Enter a Sales Process name box, type a name for the process.
In the Enter a brief sales process description text box, type a description for the process.
Click Submit.
Create the Sales Process step(s).
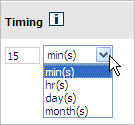
Enter the Timing
by typing the duration and selecting either min(s), hr(s), day(s) or month(s)
from the list. The
timing defines when the Web Control system schedules the activity.
Select the Action Type.
|
|
|
|
Important Note: If you have more than one automated email in a sales process, be sure to have at least 35 minutes elapse between the times they are sent. For example, if you send an automated email 10 minutes after a prospect is created, then be sure the next message is sent at least 45 minutes after the prospect is created. If you do not allow the time to elapse, the second email is not sent.
|
For Email,
Letter, Phone
Call and Automated Email
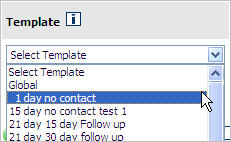
Action Types, select a Template
to use (if desired). You
can select a Global template.
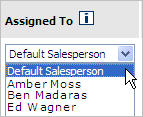
Select the individual the step is Assigned To. The
Default Salesperson is the salesperson who owns the prospect.
|
Important Notes:
|
Type a descriptive
Title for the step.

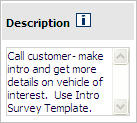
Type a Description
for the step.
Select a Reminder
option for the step.

Click Submit to add the step.
Repeat step 8 until all steps are added. You can add up to 25 steps for each process.
Click Finish. When you finish creating a sales process, you can assign it. Refer to the documentation on Assigning Sales Processes for more information.
Click the Tools tab.
From the Sales Processes section, click Create/Edit Sales Process.
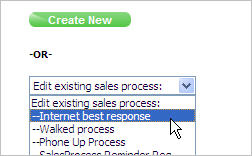
Select the process you want to edit from the list
of existing processes.
Modify or delete existing steps or add new steps.
To modify an existing step, click the Edit button next to the step and make changes as needed. Click Submit.
To delete an existing step, click the Delete button next to the step.
To add a new step, add the Timing, Action Type, Template (if needed), Assignment (if needed),Title, Description and Reminder for the new step and then click Submit.
Click Finish.
Click the Tools tab.
From the Sales Processes section, click Create/Edit Sales Process.
Select the process you want to delete from the list of existing processes.
Click the Delete
button above the current steps.

Click OK to confirm deletion of the process.
Revised: March 2010